Docker makes it easy to deploy web applications. In the case of a simple web application, the server can contain both the backend and the static resources of the frontend such as JavaScript files, images, CSS files, etc. But in order to create our container we need to build our backend and frontend first.
We can quite easily install everything on our computer to build both our backend and our frontend, since we tend to do it all the time. But every members of our development team need to do the same and we also need to do it on our continuous integration servers. Problems start to occur when we need to update something in our build stack then everybody needs to update.
We could instead use Docker to not only deploy our application but also to build it. This way everybody could simply rely on our Docker configuration to build the server. First of all, we would never find the perfect Docker image with every single development tool necessary to build our specific frontend and backend so we will have to do things ourselves. A naive approach would require us to install everything necessary in a Docker container, build the code and then run it inside of the container. While it would work, it creates a couple of issues.
The Docker container used to run our server would contain some of our development tools used to compile and test our code. That can represent a very large amount of useless code at runtime. It makes your container bigger, so deploying it will be slower, it will consume more bandwidth to download etc. In a cloud environment, you would end up paying for that one way or another. Let’s consider a Spring-based backend with a React frontend, we would need to install Node.js and npm in our container to build our frontend while we wouldn’t use any of them at runtime. That would be an issue.
To help fix this such situations, Docker 17.05 introduced the ability to create multi-stage builds. Thanks to this feature, you can use multiple Docker images during a build sequence, copy exactly what you need from one image to the next one and keep only what you need. In this post, we will have a look at an example in which, we will build our frontend using Node.js and npm then copy the result into our Java-based backend. After that, we will build the backend with Apache Maven and finally copy just the executable server into a final Docker image without any development tools.
Our backend will be a regular Spring Boot application with its entry point BackendApplication and its static resources which should be located in the folder src/main/resources/static.
We can build it thanks to its pom.xml located in the backend folder using Apache Maven.
Our frontend is a regular React application create using Create React App.
Its entry point is the file index.js and we will build it using npm and its package.json located in the frontend folder.
You can have a look at the structure of the application below.
If you want to see the real code, you can find it on my Github repository.
/backend (Spring)
  /src
    /main
      /java
        /com
          /sbegaudeau
            BackendApplication.java
      /resources
  pom.xml
/frontend (React)
  /src
    index.js
  package.json
Dockerfile
Let’s use a simple Docker image in order to build our frontend.
For that, we can use the official Node.js image which will contain both Node.js and npm.
To build our React project, we could simply write the following Dockerfile.
First, we will use a folder named frontend as our working directory.
We will copy the content of the frontend folder from our Git repository inside and then we will install all our dependencies with npm ci and finally we will run our build.
We could run our Jest unit tests, check the formatting of our project with Prettier and much more but I want to keep things simple for this example.
FROM node
WORKDIR /frontend
COPY frontend .
RUN npm ci
RUN npm run-script build
Now let’s have a look at what’s necessary in order to build our backend.
We will rely on the official Maven image in order to build our Spring application.
We will create a working directory named backend and copy the content of the backend folder of our Git repository inside.
Then we can run Maven in order to build our regular Spring application.
FROM maven:3.6.3-jdk-11
WORKDIR /backend
COPY backend .
RUN mvn clean verify
Now with a multi-stage Docker build, we want to use the result of the build of the frontend and integrate it inside the source code of our backend as static resources.
Then we will run the build of the backend and finally we will copy the resulting jar in a final image which will only be used to run our web server.
In our case, we will still use a simple Docker image with the official OpenJDK Docker image.
In order to make our multi-stage build work, the image used to build the frontend will be named frontend and the one used to build the backend will be named backend.
Our frontend build will stay mostly the same contrary to our backend build.
In the backend build, we will create a folder named static for the static resources of the frontend in src/main/resources.
Then we will copy the result of the build from the image frontend into this static folder.
Finally, we will trigger the regular Maven build.
As a result, the jar produced to run our server will contain our React application.
We can now create our final image based on OpenJDK which will copy the final jar from the backend image.
This image will setup some details in order to run our web application, such as exposing the port 8080 and indicating how to run our server when a container based on this image will start.
We could use an even smaller image to run our web application.
FROM node as frontend
WORKDIR /frontend
COPY frontend .
RUN npm ci
RUN npm run-script build

FROM maven:3.6.3-jdk-11 as backend
WORKDIR /backend
COPY backend .
RUN mkdir -p src/main/resources/static
COPY --from=frontend /frontend/build src/main/resources/static
RUN mvn clean verify

FROM openjdk:14-jdk-alpine
COPY --from=backend /backend/target/backend-0.0.1-SNAPSHOT.jar ./app.jar
EXPOSE 8080
RUN adduser -D user
USER user
CMD [ "sh", "-c", "java -Dserver.port=$PORT -Djava.security.egd=file:/dev/./urandom -jar app.jar" ]
To run this example, clone my Github repository and run docker build . inside.
You will see in the logs all the details of the build of the frontend and the backend.
Finally, you will see the creation of the final Docker image.
Step 14/17 : EXPOSE 8080
 ---> Running in 7734a9f4d05d
Removing intermediate container 7734a9f4d05d
 ---> 4f9cad5cc99a
Step 15/17 : RUN adduser -D user
 ---> Running in b642d7d98e6e
Removing intermediate container b642d7d98e6e
 ---> f42cf08fd8b9
Step 16/17 : USER user
 ---> Running in 8031cfa63e4b
Removing intermediate container 8031cfa63e4b
 ---> b000e2153393
Step 17/17 : CMD [ "sh", "-c", "java -Dserver.port=$PORT -Djava.security.egd=file:/dev/./urandom -jar app.jar" ]
 ---> Running in 4637751b9e85
Removing intermediate container 4637751b9e85
 ---> 9f26a180b872
Successfully built 9f26a180b872
Once built, you can run the container using docker run -p 8080:8080 IMAGE_ID.
You will be able to find the IMAGE_ID on the last line of the logs of the build (here 9f26a180b872).
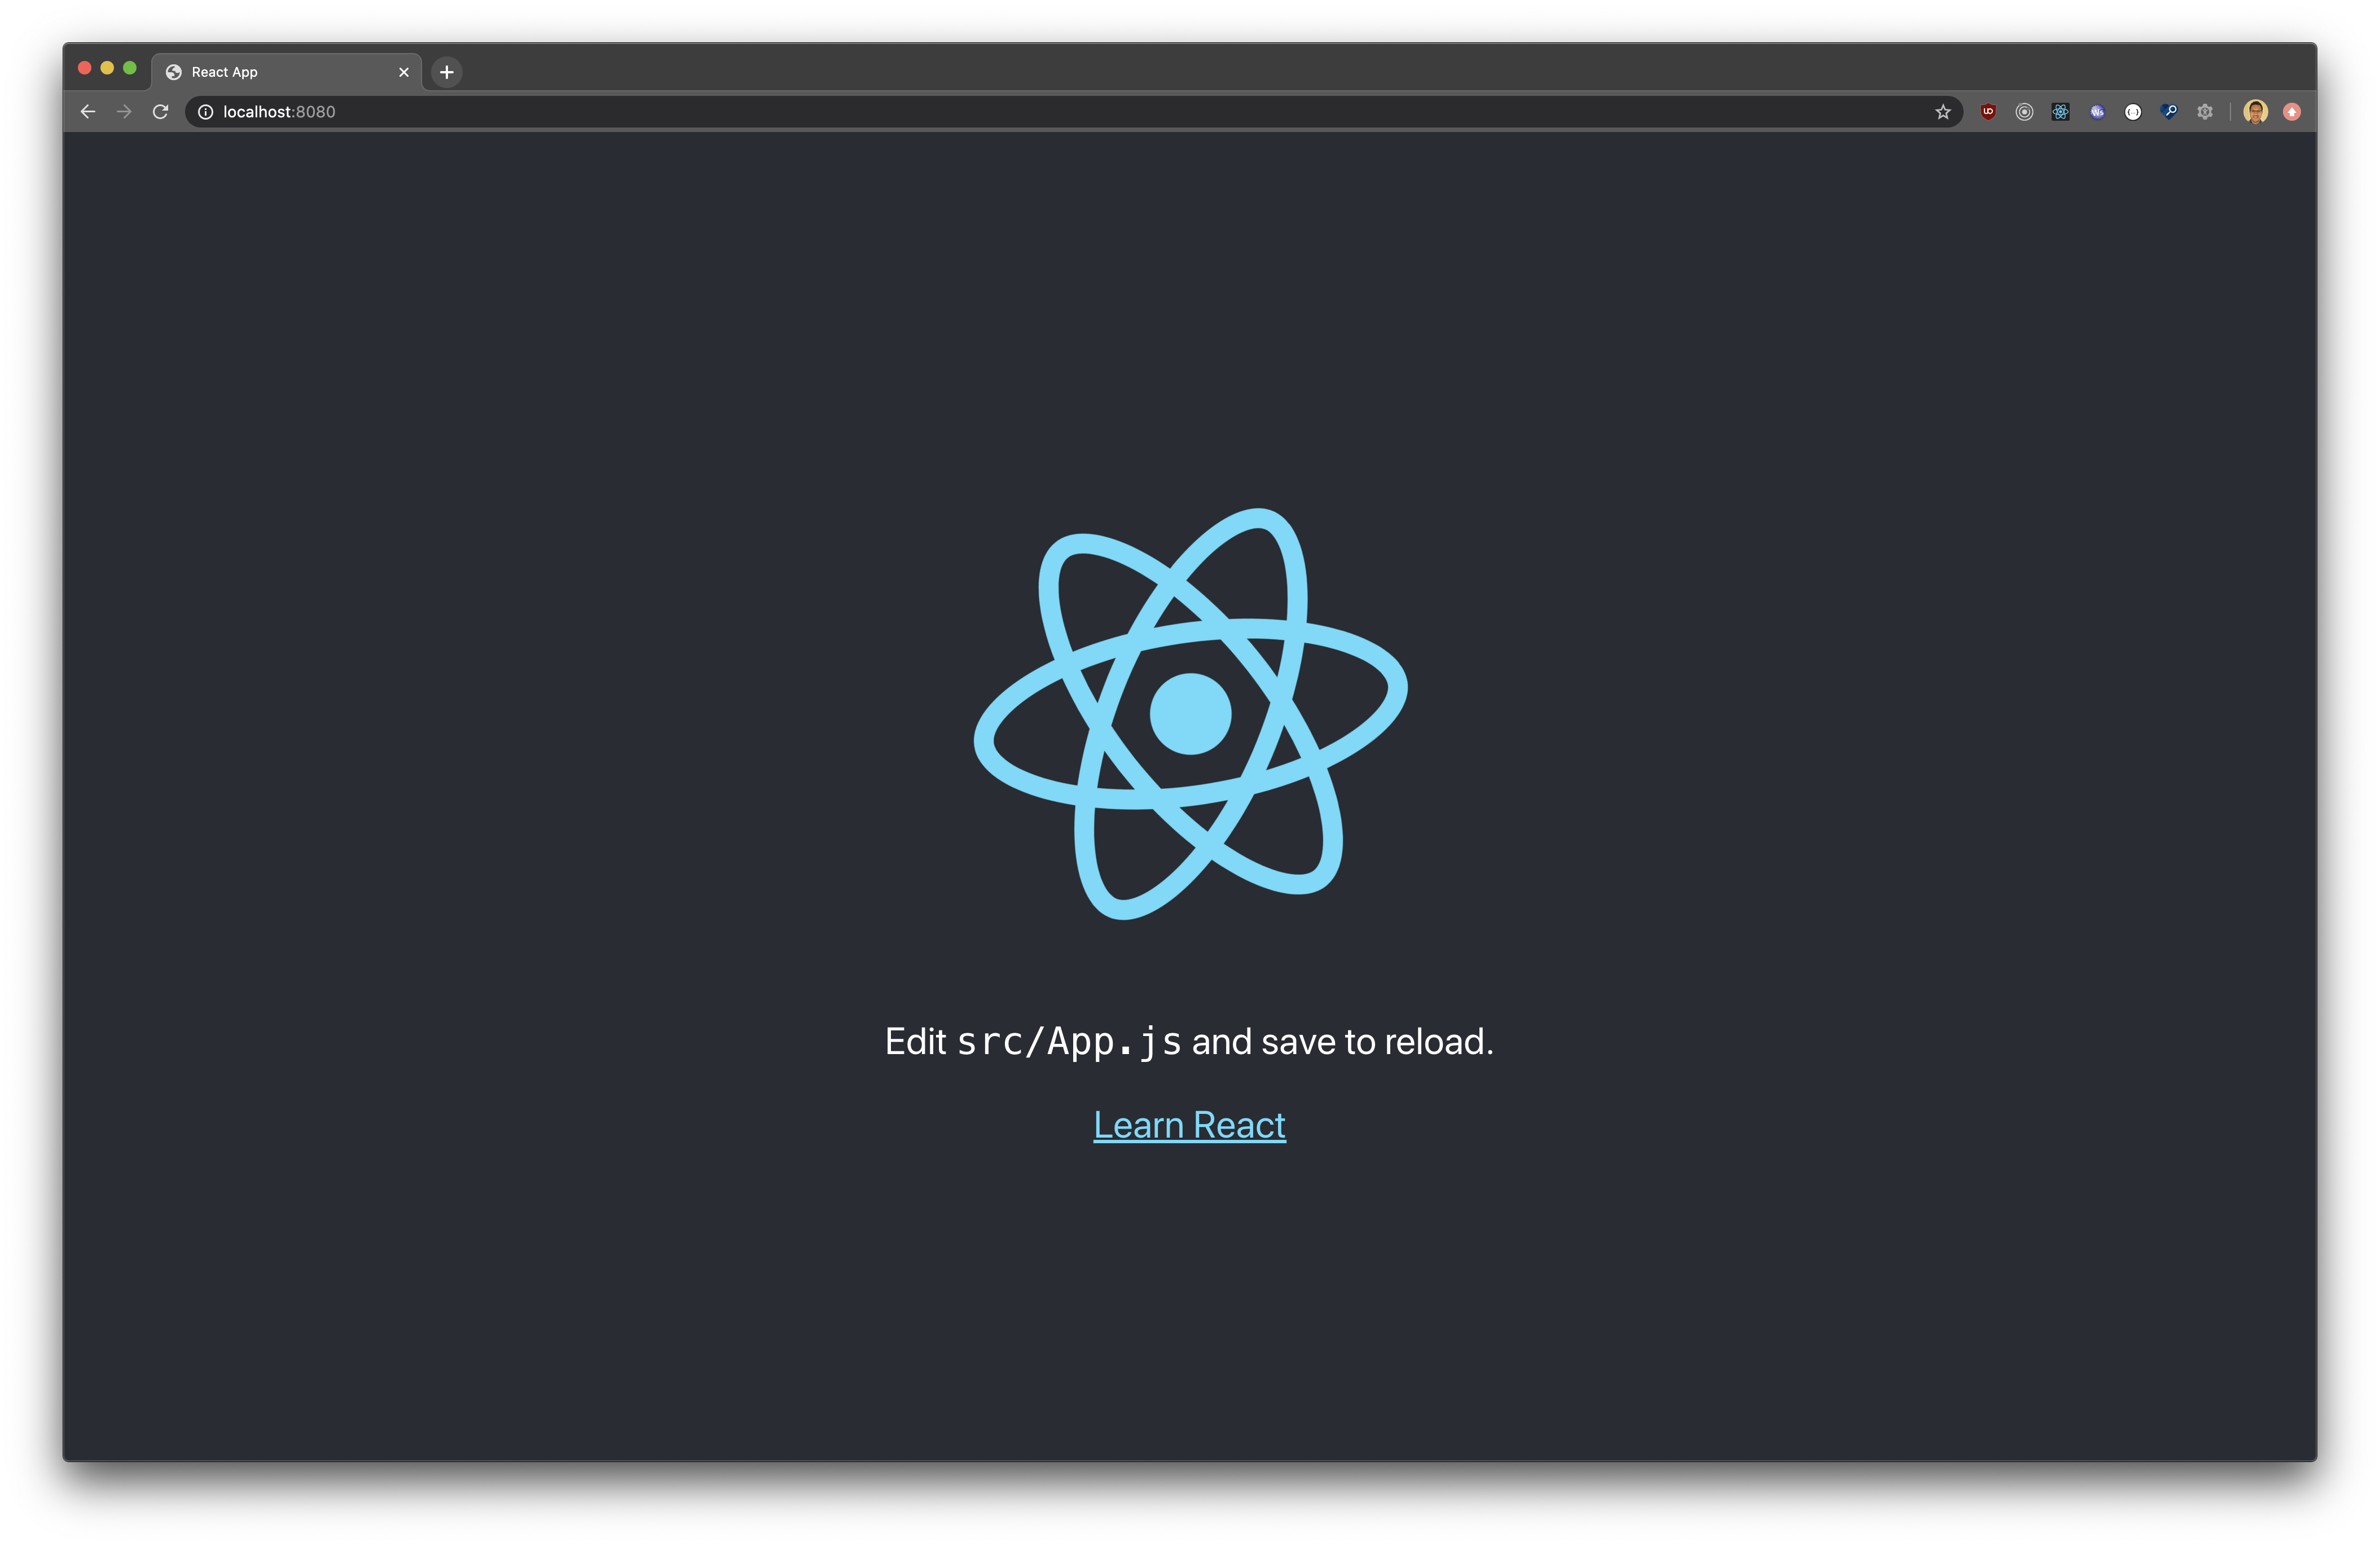
Then open your web browser on http://localhost:8080 and see your web application up and running.
Now you can leverage Docker to both build and deploy you web server quite easily. If you have any questions, don’t hesitate to contact me on Twitter for more information.