In this blog post, we will see how you can build a simple web application with real-time feedback based on Spring Webflux and React. The frontend and the backend will communicate using a GraphQL API provided thanks to Netflix DGS which we will leverage in the frontend using Apollo Client.
In this example, the application will only be used to send events to a server and display them. For that, we will first define the GraphQL API that we want to provide, then we will implement it on the backend, and finally leverage it in the frontend.
type Query {
  events: [Event!]!
}

type Mutation {
  createEvent(name: String!): Event!
}

type Subscription {
  events: Event!
}

type Event {
  name: String!
  createdOn: DateTime!
}

scalar DateTime
We will have a query to retrieve all the events created, a mutation to create new events and a subscription to be notified of new events created by anybody.
Implementing our GraphQL API with Netflix DGS
To build the backend, I’ve decided to go with both Spring Webflux and Netflix DGS. Spring Webflux is the reactive stack of the popular Spring framework based on Reactor. It is used to build web servers with an asynchronous programming model from top to bottom. On top of that, I’ve selected Netflix DGS to provide GraphQL support for the server. Netflix DGS is an integration of GraphQL Java on top of Spring (both MVC and Webflux) which provides an easy-to-use annotation-based programming model.
In this example, we will create a single datafetcher for everything related to our events.
We will annotate this datafetcher with @DgsComponent to let Netflix DGS discover It.
After that, we just need to annotate the relevant methods with @DgsData to indicate for which GraphQL type and field the method should be used.
For example, @DgsData(type = "Query", field = "events") to retrieve the events with a query.
Some dedicated annotations also exist for the fields of the default types of GraphQL.
@DgsQueryfor@DgsData(parentType = "Query")@DgsMutationfor@DgsData(parentType = "Mutation")@DgsSubscriptionfor@DgsData(parentType = "Subscription")
Netflix DGS can also find out the name of the field from the name of the methods but in our case, we would have multiple methods with the name events.
We could thus create a single datafetcher for our GraphQL schema like that:
@DgsComponent
public class EventsDataFetcher {
  private final IEventService eventService;

  public EventsDataFetcher(IEventService eventService) {
    this.eventService = eventService;
  }

  @DgsQuery(field = "events")
  public Mono<List<Event>> getEvents() {
    return this.eventService.getEvents();
  }

  @DgsMutation
  public Mono<Event> createEvent(@InputArgument String name) {
    return this.eventService.createEvent(name);
  }

  @DgsSubscription(field = "events")
  public Flux<Event> getEventFlux() {
    return this.eventService.getEventFlux();
  }
}
Since GraphQL Java offers support for asynchronous datafetcher, it can easily be integrated with Spring Webflux.
On top of that, Netflix DGS provides support to convert asynchronous concepts used in Webflux such as Mono and Flux in the CompletableFuture expected by GraphQL Java.
A reactive service layer with Reactor
For this small application, I’ve decided not to use a database since it makes running the code sample much easier for everybody.
Nevertheless, when you are using Spring Webflux, you need to use reactive programming all the way down with reactive drivers for the database like the PostgreSQL R2DBC driver.
As such, you will probably manipulate concepts such as Mono and Flux in your service layer.
If you are not familiar with those concepts, you can learn more about them in my post dedicated to reactive programming.
We will have one service named EventService which will be used to retrieve all the existing events using a Mono<List<Event>>.
This type is used to represent the fact that we may have queried a datastore or remote service to retrieve all existing events at once.
For the creation of a new event, we will return a Mono<Event> to represent the fact that our datastore has persisted the new event and returned it asynchronously after its creation.
Finally, for our subscription, we will provide a Flux<Event> to indicate that we have an asynchronous sequence with an unknown number of events.
It’s the perfect type for us since we don’t know when the next event will be available.
Here is the implementation of the EventService:
@Service
public class EventService implements IEventService {

  private final List<Event> createdEvents = new ArrayList<>();

  private final Many<Event> sink = Sinks.many().multicast().directBestEffort();

  @Override
  public Mono<List<Event>> getEvents() {
    return Mono.just(this.createdEvents);
  }

  @Override
  public Mono<Event> createEvent(String name) {
    var event = new Event(name, OffsetDateTime.now());
    this.createdEvents.add(event);
    if (this.sink.currentSubscriberCount() > 0) {
      this.sink.tryEmitNext(event);
    }
    return Mono.just(event);
  }

  @Override
  public Flux<Event> getEventFlux() {
    return Flux.concat(Flux.fromIterable(this.createdEvents), sink.asFlux());
  }

}
We want new users which are subscribing to our service to see all existing events and new ones instead of only receiving newly created events.
For that, we are using Flux#concat(...) to return all the previously created events and new ones which will be emitted later thanks to the sink.
This will simplify the use of our API in the frontend by ensuring that users won’t be required to both use the query and the subscription if they want to start displaying an initial state for the end-users.
If required, we could even make this behavior optional.
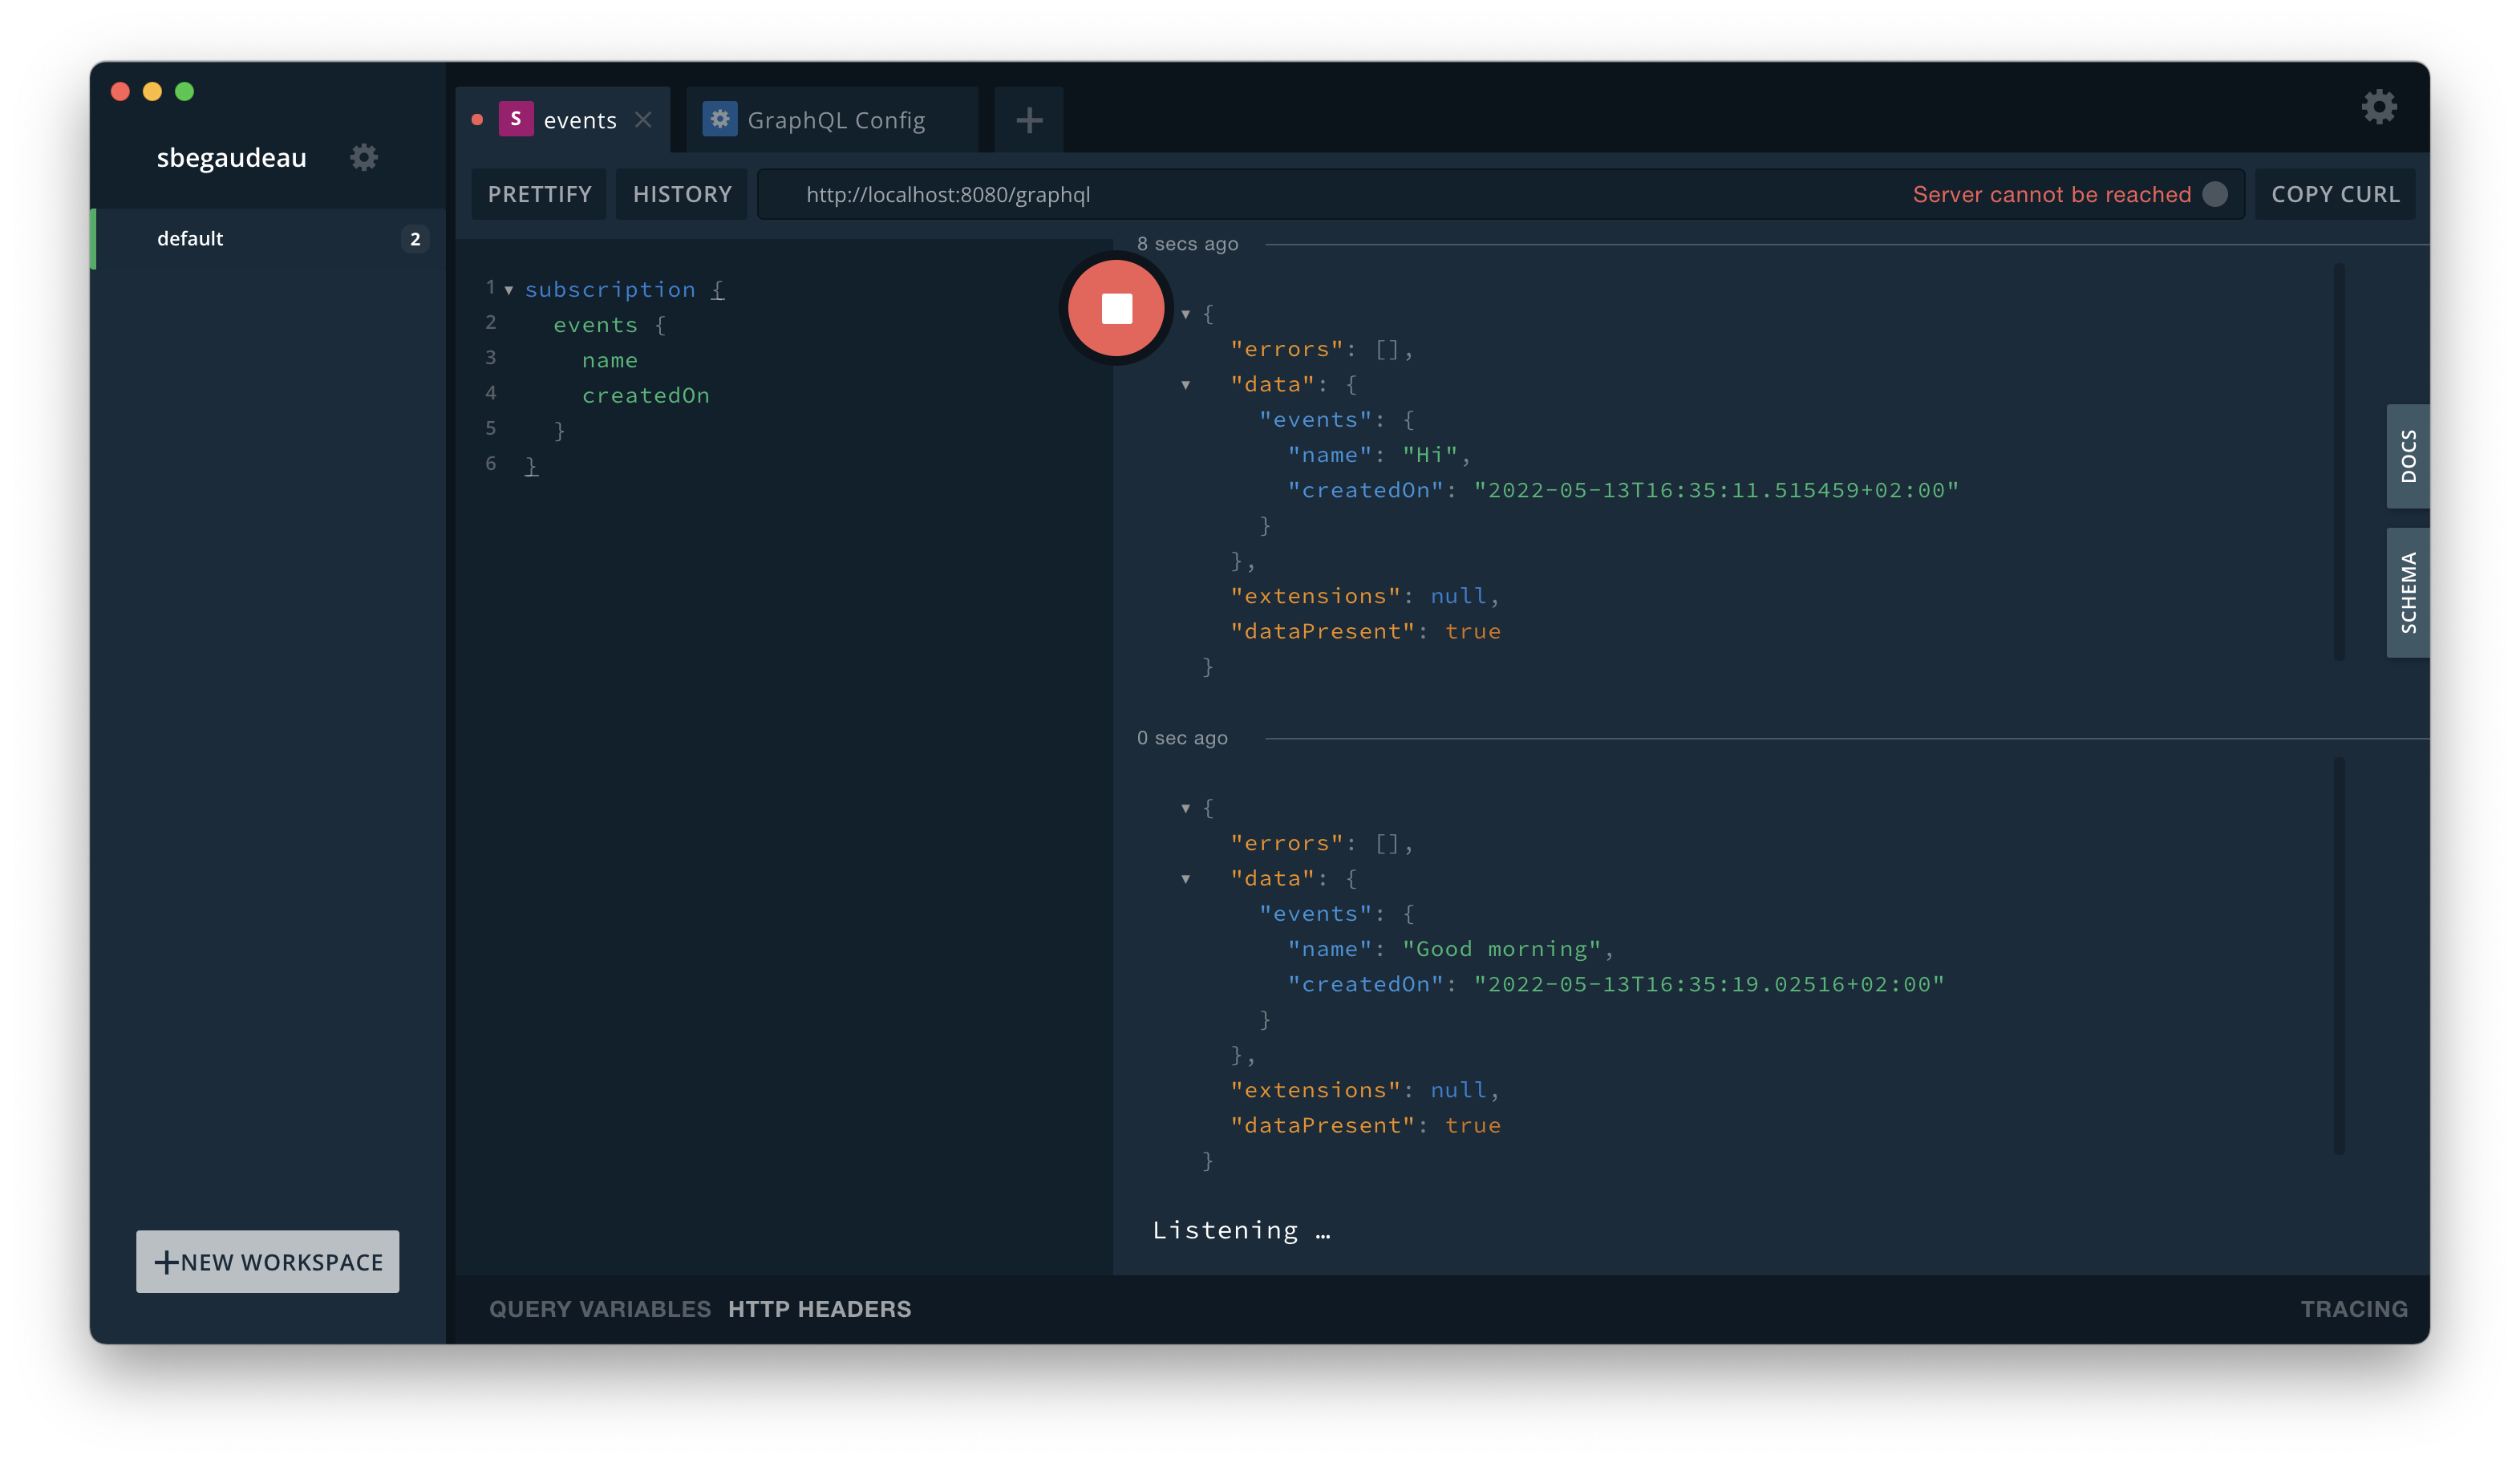
Test the API using GraphQL Playground
We can now launch our server and start playing with its GraphQL API. For that, you can try using GraphQL Playground, an IDE to help create GraphQL queries, mutations, and subscriptions. To use it properly, we need to tell GraphQL Playground the URLs of both the HTTP endpoint used for queries and mutations and the WebSocket endpoint for our subscriptions.
We can use a GraphQL Config file to provide this information for the GraphQL Playground client.
You just need to create a .graphqlconfig file with the configuration of the server.
Since we will just rely on the default endpoints provided by Netflix DGS, the configuration will look like this:
{
  "schema": "https://localhost:8000/graphql",
  "extensions": {
    "endpoints": {
      "default": {
        "url": "http://localhost:8080/graphql",
        "subscription": {
          "url": "ws://localhost:8080/subscriptions"
        }
      }
    }
  }
}
We can now start playing with our server by creating new events and seeing them in real-time thanks to the GraphQL subscription.
You may want to set up cross-origin resource sharing headers to allow requests from localhost while testing the backend. For that, you can quickly provide a Spring configuration that adds the proper CORS headers for requests coming from localhost with the following code:
@Configuration
@EnableWebFlux
public class CorsGlobalConfiguration implements WebFluxConfigurer {

    @Override
    public void addCorsMappings(CorsRegistry corsRegistry) {
        corsRegistry.addMapping("/**").allowedOriginPatterns("http://localhost:[*]");
    }
}
Leverage our GraphQL API with React and Apollo
On the frontend, we will build a very basic React, Apollo Client, and MaterialUI application built with Vite. For the first version, we will only perform the creation of an event and display it once it has been created on the server.
First, we need to configure Apollo Client to find both our HTTP and WebSocket endpoints. We just need to create an instance of the HTTPLink and the WebSocketLink configured with the relevant URLs. We will then use a split link to tell Apollo Client to perform GraphQL requests against the HTTP for queries and mutations or the WebSocket endpoint for subscriptions.
We are relying on subscriptions-transport-ws for the WebSocket protocol used to perform the requests because this is the only WebSocket protocol supported by Netflix DGS for now.
While the alternate protocol graphql-ws is not supported yet by Netflix DGS, it may be available soon.
Here is the code used to configure the Apollo Client in our React application:
const wsLink = new WebSocketLink(
  new SubscriptionClient("ws://localhost:8080/subscriptions")
);
const httpLink = new HttpLink({
  uri: "http://localhost:8080/graphql",
});

const splitLink = split(
  ({ query }) => {
    const definition = getMainDefinition(query);
    return (
      definition.kind === "OperationDefinition" &&
      definition.operation === "subscription"
    );
  },
  wsLink,
  httpLink
);

const client = new ApolloClient({
  link: splitLink,
  cache: new InMemoryCache(),
});

ReactDOM.createRoot(document.getElementById("root")).render(
  <ApolloProvider client={client}>
    <App />
  </ApolloProvider>
);
The core part of the frontend will be composed of a textfield and a button to send a new event to the server and a list to display the events created. For that, we will just keep in the state of the component both the value of the textfield, with the name of the next event to send, and the list of events created previously.
When the user will click on the “Create” button, a mutation will be performed.
Using a useEffect hook, our component will react to the retrieval of the response to update the state with the newly created event and trigger a new rendering.
export const App = () => {
  const [state, setState] = useState({
    value: "",
    events: [],
  });

  const [createEvent,{
    loading: mutationLoading,
    data: mutationData
  }] = useMutation(createEventMutation);

  useEffect(() => {
    if (!mutationLoading && mutationData) {
      const { createEvent } = mutationData;
      setState(prevState => ({
        ...prevState, events: [...prevState.events, createEvent]
      }))
    }
  }, [mutationLoading, mutationData]);

  const handleClick = () => {
    const name = state.value;
    createEvent({ variables: { name } });
  };

  return (
    <div>
      ...
      <Button onClick={handleClick}>Create</Button>
      ...
      <ul>
        {state.events.map((event, index) => <li key={index}>{event.name}</li>)}
      </ul>
    </div>
  );
};
Retrieve existing events on page loading
In this first naive version, we are only displaying the events that we have created in the page since its loading but not the events created either by other pages or those created before. We can easily improve this version of the page by retrieving the events previously created when the page is first loaded.
export const App = () => {
  const [state, setState] = useState({
    value: "",
    events: [],
  });

  const { loading: queryLoading, data: queryData } = useQuery(getEventsQuery);
  useEffect(() => {
    if (!queryLoading && queryData) {
      const { events } = queryData;
      setState(prevState => ({
        ...prevState, events: [...prevState.events, ...events]
      }))
    }
  }, [queryLoading, queryData]);

  const [createEvent, {
    loading: mutationLoading,
    data: mutationData
  }] = useMutation(createEventMutation);

  useEffect(() => {
    if (!mutationLoading && mutationData) {
      const { createEvent } = mutationData;
      setState(prevState => ({
        ...prevState, events: [...prevState.events, createEvent]
      }))
    }
  }, [mutationLoading, mutationData]);

  const handleClick = () => {
    const name = state.value;
    createEvent({ variables: { name } });
  };

  return (
    <div>
      ...
      <Button onClick={handleClick}>Create</Button>
      ...
      <ul>
        {state.events.map((event, index) => <li key={index}>{event.name}</li>)}
      </ul>
    </div>
  );
};
We could use refetch to fetch all events each time we create a new one but the list displayed would not be updated until we create a new event.
  const { loading: queryLoading, data: queryData, refetch } = useQuery(getEventsQuery);
  useEffect(() => {
    if (!queryLoading && queryData) {
      const { events } = queryData;

      setState(prevState => ({
        ...prevState, events: [...events]
      }))
    }
  }, [queryLoading, queryData]);

  const [createEvent, {
    loading: mutationLoading,
    data: mutationData
  }] = useMutation(createEventMutation);

  useEffect(() => {
    if (!mutationLoading && mutationData) {
      const { createEvent } = mutationData;
      setState(prevState => ({
        ...prevState, events: [...prevState.events, createEvent]
      }))

      refetch();
    }
  }, [mutationLoading, mutationData]);
Subscribe to the event flux for real-time updates
To provide real-time updates of the events that have been created on the backend, we can leverage the GraphQL subscription.
We can thus subscribe to the event flux of the backend and react to the appearance of new events thanks to the useSubscription hook.
export const App = () => {
  const [state, setState] = useState({
    value: "",
    events: [],
  });

  const [createEvent, {
    loading: createEventLoading
  }] = useMutation(createEventMutation);

  useSubscription(eventsSubscription, {
    onSubscriptionData: ({ subscriptionData }) => {
      const { data: { events } } = subscriptionData;
      setState((prevState) => ({
        ...prevState, events: [...prevState.events, events]
      }));
    },
  });

  const handleChange = (event) => {
    const {
      target: { value },
    } = event;
    setState((prevState) => ({ ...prevState, value }));
  };

  const handleClick = () => {
    const name = state.value;
    createEvent({ variables: { name } });
  };

  // ...

  return (
    <div>
      ...
      <Button onClick={handleClick}>Create</Button>
      ...
      <ul>
        {state.events.map((event, index) => <li key={index}>{event.name}</li>)}
      </ul>
    </div>
  );
};
While not used here, we could also react to the end of the subscription with the onSubscriptionComplete callback.
On the backend, we could trigger the completion of the subscription by using tryEmitComplete on our reactor sink.
If you want to try the code of the backend and frontend visible in this blog post you can find it on Github. If you have any additional questions, don’t hesitate to contact me on Twitter.